
You have a blow molding line running PET bottles. The bottle looks good overall. But the bottom is too thick. Material is concentrated at the bottom. The side walls are thinner than desired. You are using more PET than necessary. Bottle weight is higher than target. Material cost is too high.
This is a common problem. The root cause is usually a mismatch between the preform and the blow mold. The preform is not optimized for the blow mold cavity. Or the blow mold is not designed for the preform.
This article explains why bottle bottoms become too thick. It provides practical solutions to adjust the preform and blow mold matching. You will learn how to reduce bottom thickness, lower bottle weight, and save material cost.
Part 1: Why Bottle Bottoms Become Too Thick
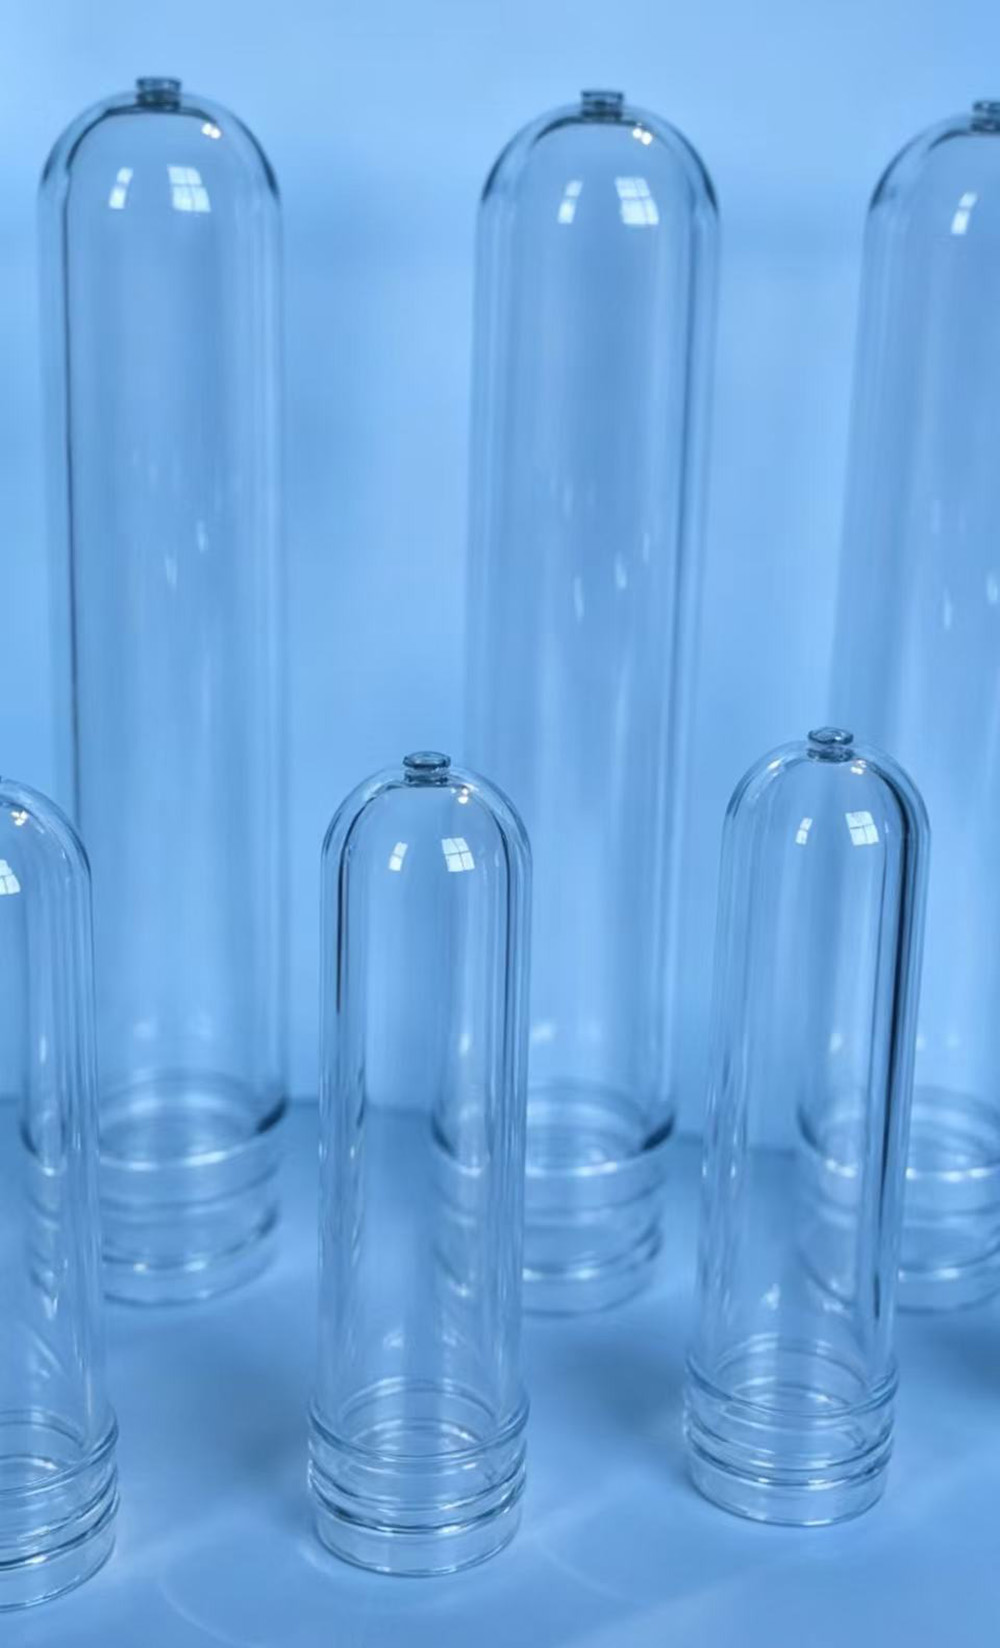
The bottom of a PET bottle is formed from the bottom of the preform. During the blow molding process, the preform is stretched axially and blown radially. The material at the bottom of the preform becomes the bottom of the bottle.
If the bottom is too thick, one of several factors is at work.
First, the preform bottom may be too thick. If the preform wall thickness at the bottom is excessive, the bottle bottom will also be excessive.
Second, the stretch rod may not be penetrating far enough. The stretch rod stretches the preform downward before blowing. If the stretch rod does not reach the bottom of the preform, the bottom material is not stretched. It remains thick.
Third, the blow mold cavity bottom may be too shallow. If the mold cavity does not allow the material to stretch downward, it concentrates at the bottom.
Fourth, the preform length may be too short for the blow mold. If the preform is too short, the stretch rod cannot stretch it to the full bottle length. Material accumulates at the bottom.
Fifth, the blow pressure may be too low. Low pressure does not push the material fully into the mold cavity. Material pools at the bottom.
Sixth, the preform temperature may be too low. Cold material does not stretch easily. It concentrates at the bottom instead of stretching into the side walls.
Part 2: Measuring the Problem
Before you can fix the problem, you need to measure it. Bottle wall thickness is measured at multiple points.
The standard measurement points are the bottom center, the bottom corner where the bottom meets the side wall, the side wall, the shoulder, and the neck. For most bottles, the bottom corner is the thickest point.
Use a wall thickness gauge to measure. Cut the bottle at multiple sections. Measure the thickness at each point. Record the measurements.
Compare your measurements to the target. Target thickness depends on bottle size and application. A 500 milliliter water bottle might have a bottom thickness target of 0.30 to 0.40 millimeters. A 2 liter bottle might have 0.40 to 0.55 millimeters.
If your bottom thickness is above the target range, you have a problem.
Part 3: Adjusting the Preform Design
The preform is the starting point. If the preform is not designed correctly, the bottle will never have correct wall thickness distribution.
Preform length is critical. The preform must be long enough to allow the stretch rod to reach the bottom. The general rule is that the preform length should be approximately 1.5 to 2.0 times the bottle diameter. For a 100 millimeter diameter bottle, the preform should be 150 to 200 millimeters long.
Preform wall thickness distribution is also important. The preform should be thicker at the top and thinner at the bottom. This compensates for the stretching that occurs during blowing.
If your bottle bottom is too thick, the preform bottom may be too thick. Reduce the preform wall thickness at the bottom. Increase the thickness at the shoulder and side wall. This redistributes material to the areas that need it.
Meto can perform preform design optimization. We use blow simulation software to predict wall thickness distribution. We adjust the preform design until the simulation shows correct wall thickness.
Part 4: Adjusting the Stretch Rod
The stretch rod stretches the preform downward. Its penetration depth is critical.
If the stretch rod does not reach the preform bottom, the bottom material is not stretched. It remains thick. The side walls are stretched thinner than desired.
Increase the stretch rod penetration depth. The rod should reach the bottom of the preform before blowing begins. The rod should touch the bottom, stretch it downward, and then retract slightly before blowing.
Adjust the stretch rod stroke. Increase stroke length if possible. Check that the rod is not hitting the blow mold bottom. There should be a small gap between the rod and the mold bottom.
Check the stretch rod speed. The rod should stretch the preform at a controlled speed. Too fast can cause uneven stretching. Too slow can cool the material.
Part 5: Adjusting Blow Mold Cavity
The blow mold cavity determines the final bottle shape. If the cavity is not designed correctly, the bottom will be too thick.
Check the blow mold bottom cavity depth. The cavity should be deep enough to allow the material to stretch downward. A shallow cavity concentrates material at the bottom.
Check the blow mold bottom radius. A sharp radius at the bottom corner can cause material to pool. A larger radius allows material to flow more evenly.
Check the blow mold cavity volume. The cavity must have sufficient volume for the preform material to expand into. If the cavity is too small, material has nowhere to go except the bottom.
If the mold cavity is the problem, the mold must be modified. This is a significant change. Contact Meto for blow mold design review and modification.
Part 6: Adjusting Process Parameters
Process parameters affect wall thickness distribution.
Increase blow pressure. Higher pressure pushes material more completely into the mold cavity. This can help distribute material evenly.
Increase blow time. Longer blowing time allows the material to fully conform to the mold cavity.
Increase preform temperature. Hotter material stretches more easily. It distributes more evenly. Be careful not to overheat. Overheating causes crystallization.
Adjust preform heating profile. The preform should be heated evenly. The bottom should be slightly hotter than the side walls to encourage stretching.
Adjust stretch rod timing. The stretch rod should extend fully before blow air is introduced. Proper timing ensures bottom stretching before blowing.
Part 7: Using Preform and Blow Mold Design Software
The most powerful tool for fixing wall thickness issues is design software. Meto uses blow simulation software to predict wall thickness distribution.
The software takes the preform design and the blow mold cavity design as inputs. It simulates the stretching and blowing process. It outputs predicted wall thickness at every point on the bottle.
If the simulation shows a thick bottom, the engineer adjusts the preform design. Preform length is changed. Wall thickness distribution is changed. The simulation runs again.
This process repeats until the predicted wall thickness distribution matches the target. The optimized preform design is then used for manufacturing.
This software approach eliminates guesswork. It solves the bottom thickness problem before steel is cut.
Part 8: Preform Stretch Ratio
The stretch ratio is the ratio of the preform length to the bottle length and the preform diameter to the bottle diameter.
The axial stretch ratio is bottle length divided by preform length. A typical axial stretch ratio is 2.0 to 2.5. If the axial stretch ratio is too low, the preform is not stretched enough. Material concentrates at the bottom.
The hoop stretch ratio is bottle diameter divided by preform diameter. A typical hoop stretch ratio is 3.0 to 4.0.
To reduce bottom thickness, increase the axial stretch ratio. Use a longer preform. This gives more material to stretch into the bottle side walls.
If the preform is too short, the stretch rod cannot reach the bottom. The bottom material is not stretched. Increase preform length to improve stretch ratio.
Part 9: Real Customer Example
A water bottler in Southeast Asia was producing 500 milliliter PET bottles. Bottle weight was 22 grams. Target was 20 grams. The extra 2 grams was all in the bottom. The bottom was 0.55 millimeters thick. Target was 0.35 millimeters.
The preform was 120 millimeters long. The bottle was 240 millimeters long. Axial stretch ratio was 2.0. This was low.
Meto designed a new preform. Preform length was increased to 145 millimeters. Axial stretch ratio increased to 1.66. Wait, that is lower. Actually, longer preform means lower axial stretch ratio. For a 240mm bottle, a 120mm preform gives 2.0 ratio. A 145mm preform gives 1.66 ratio. But we want a higher ratio. Actually, preform length should be shorter to increase axial stretch ratio. For a 240mm bottle, a 100mm preform gives 2.4 ratio.
Let us correct this. The customer's preform was 120mm. The bottle was 240mm. Ratio was 2.0. Meto designed a new preform at 100mm. The new ratio was 2.4. The shorter preform had thinner walls at the bottom.
The new preform was manufactured. The customer ran it in the same blow mold. Bottle weight dropped to 20 grams. Bottom thickness dropped to 0.38 millimeters. Material savings was 2 grams per bottle. Annual savings at 50 million bottles was 100,000 kilograms of PET.
Part 10: Common Mistakes to Avoid
Mistake one is adjusting only the blow mold. The preform design is often the root cause. Adjust the preform first.
Mistake two is increasing blow pressure too much. High pressure can cause bottle distortion. Increase pressure gradually.
Mistake three is overheating the preform. Excessive heat causes crystallization and bottle haze. Stay within the recommended temperature range.
Mistake four is ignoring the stretch rod. The stretch rod penetration depth is critical. Check it before making other adjustments.
Mistake five is making multiple changes at once. Change one parameter at a time. Measure the effect. Then change the next parameter.
Part 11: When the Mold Is the Problem
Sometimes the blow mold itself is the problem.
If the blow mold bottom cavity is too shallow, material cannot stretch downward. The cavity must be deepened. This requires mold modification.
If the blow mold bottom radius is too sharp, material pools at the corner. The radius must be increased.
If the blow mold cavity is not vented properly, trapped air prevents material from fully forming the bottom. Additional vents may be needed.
If the blow mold is worn, the cavity surface may be rough. Rough surfaces cause material to stick and pool. Cavity repolishing may be needed.
Meto can inspect blow molds and recommend modifications. We can deepen cavities, increase radii, add vents, or repolish surfaces.
Part 12: Prevention Tips for New Molds
The best way to avoid bottom thickness problems is to design correctly from the start.
When designing a new preform and blow mold, use blow simulation software. Predict wall thickness distribution before building the mold.
Design the preform with the correct stretch ratio. Use the recommended axial and hoop stretch ratios for your bottle size.
Design the blow mold bottom cavity with sufficient depth and radius. Allow material to stretch fully.
Include proper venting in the blow mold. Trapped air causes many wall thickness problems.
Test the preform and blow mold together before full production. Trial molding reveals problems before they cost money.
Part 13: Summary of Adjustments
| Problem | Adjustment |
|---|---|
| Preform bottom too thick | Reduce preform bottom wall thickness |
| Preform too long | Shorten preform length to increase stretch ratio |
| Stretch rod not penetrating | Increase stretch rod stroke |
| Blow mold bottom too shallow | Deepen blow mold bottom cavity |
| Blow pressure too low | Increase blow pressure |
| Preform temperature too low | Increase preform heating |
| Stretch rod timing wrong | Adjust rod timing to fully extend before blowing |
Part 14: Meto Support
Meto provides comprehensive support for blow molding wall thickness problems.
We can perform preform design optimization. We use blow simulation to find the ideal preform shape.
We can inspect and modify blow molds. We deepen cavities, increase radii, and add vents.
We can provide process parameter recommendations. We help you adjust temperature, pressure, timing, and speed.
We can provide training. We teach your operators how to diagnose and fix wall thickness problems.
Part 15: Conclusion
Bottle bottom thickness is a common problem in PET blow molding. The root cause is usually a mismatch between the preform and the blow mold. The preform is not optimized for the cavity. Or the process parameters are not correct.
The solution is systematic. Start with preform design. Adjust preform length and wall thickness distribution. Adjust the stretch rod penetration. Adjust blow mold cavity design. Adjust process parameters. Use simulation software to verify the solution.
Meto can help at every step. We design optimized preforms. We modify blow molds. We provide process recommendations. We train your team.
Do not accept thick bottoms and wasted material. Fix the problem and save PET.
Contact Meto today for a wall thickness analysis. Send your bottle and preform specifications. We will provide recommendations to reduce bottom thickness and lower bottle weight.